Welcome to TravelBuilderPro
TravelBuilderPro is your all-in-one platform for managing your travel agency. From capturing leads to delivering beautiful trip proposals, everything you need is in one place.
What you'll learn:
Understanding the main areas of TravelBuilderPro Setting up your agency for the first time Creating your first contact and trip Essential features to explore What is TravelBuilderPro? TravelBuilderPro helps travel agencies:
Capture leads - Connect website forms to automatically create contactsManage clients - Track relationships from first inquiry to bookingBuild itineraries - Create beautiful day-by-day trip proposalsShare proposals - Send branded, professional trip pages to clientsTrack payments - Monitor deposits, balances, and payment statusCollaborate - Work with your team on trips and tasksStay organized - Keep tasks, notes, and follow-ups in one place[Screenshot: TravelBuilderPro dashboard overview]
Your First Login When you first log in, you'll see the Dashboard — your home base showing quicks access at a glance.
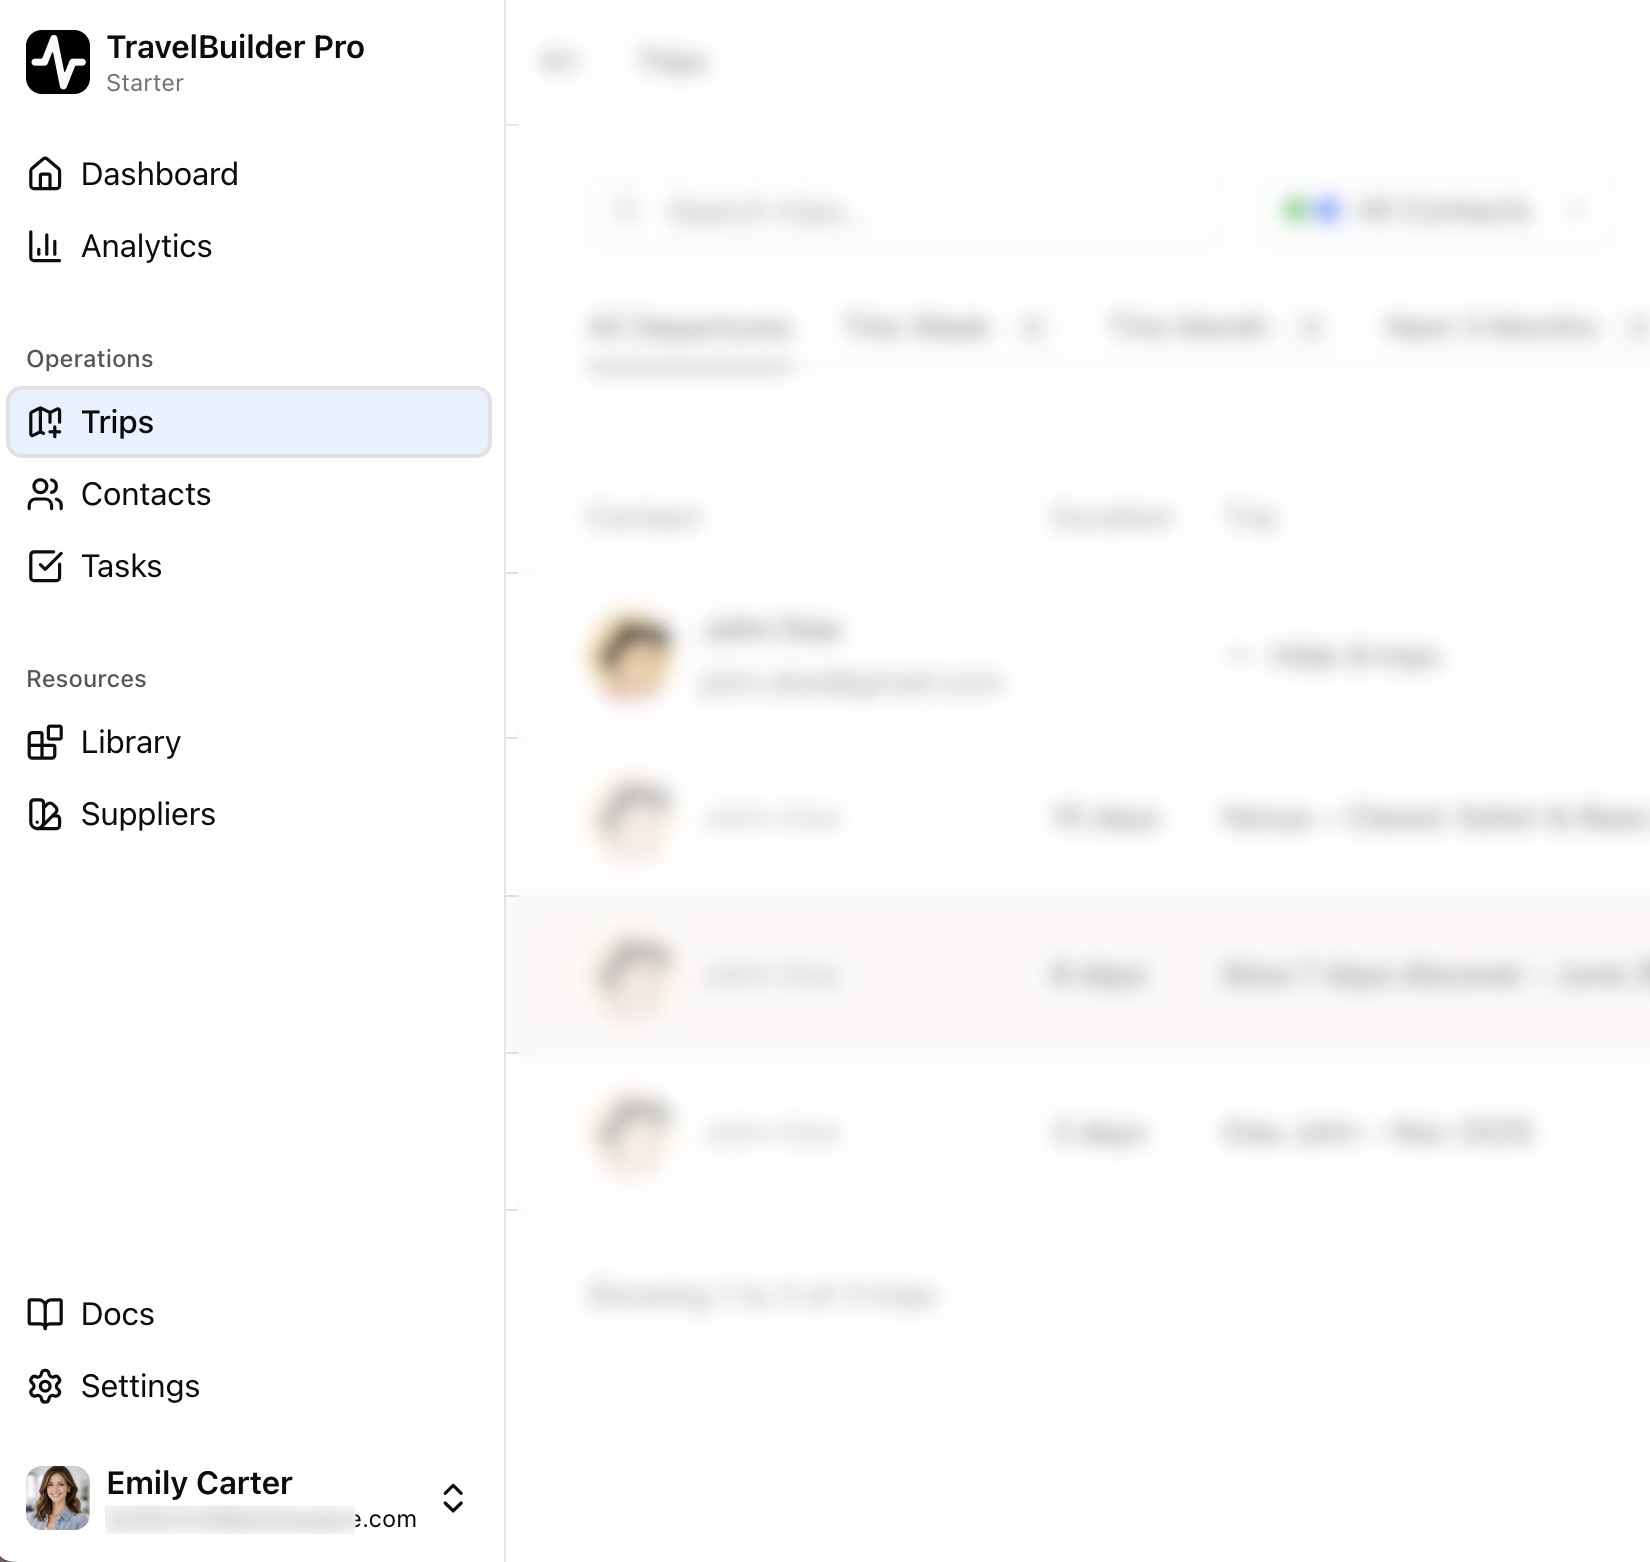
The Main Navigation The sidebar on the left gives you access to everything:
Dashboard - Overview of leads and performanceAnalytics - Detailed charts and insightsTrips - Create and manage travel itinerariesContacts - Your leads and clientsTasks - To-dos and follow-upsLibrary - Reusable content blocksSuppliers - Your business partnersSettings - Agency configuration (admin only)
Quick Setup Guide Follow these steps to set up your agency.
If you're an Agency Admin, start here. If you're a Manager or an Agent, skip to Your First Actions
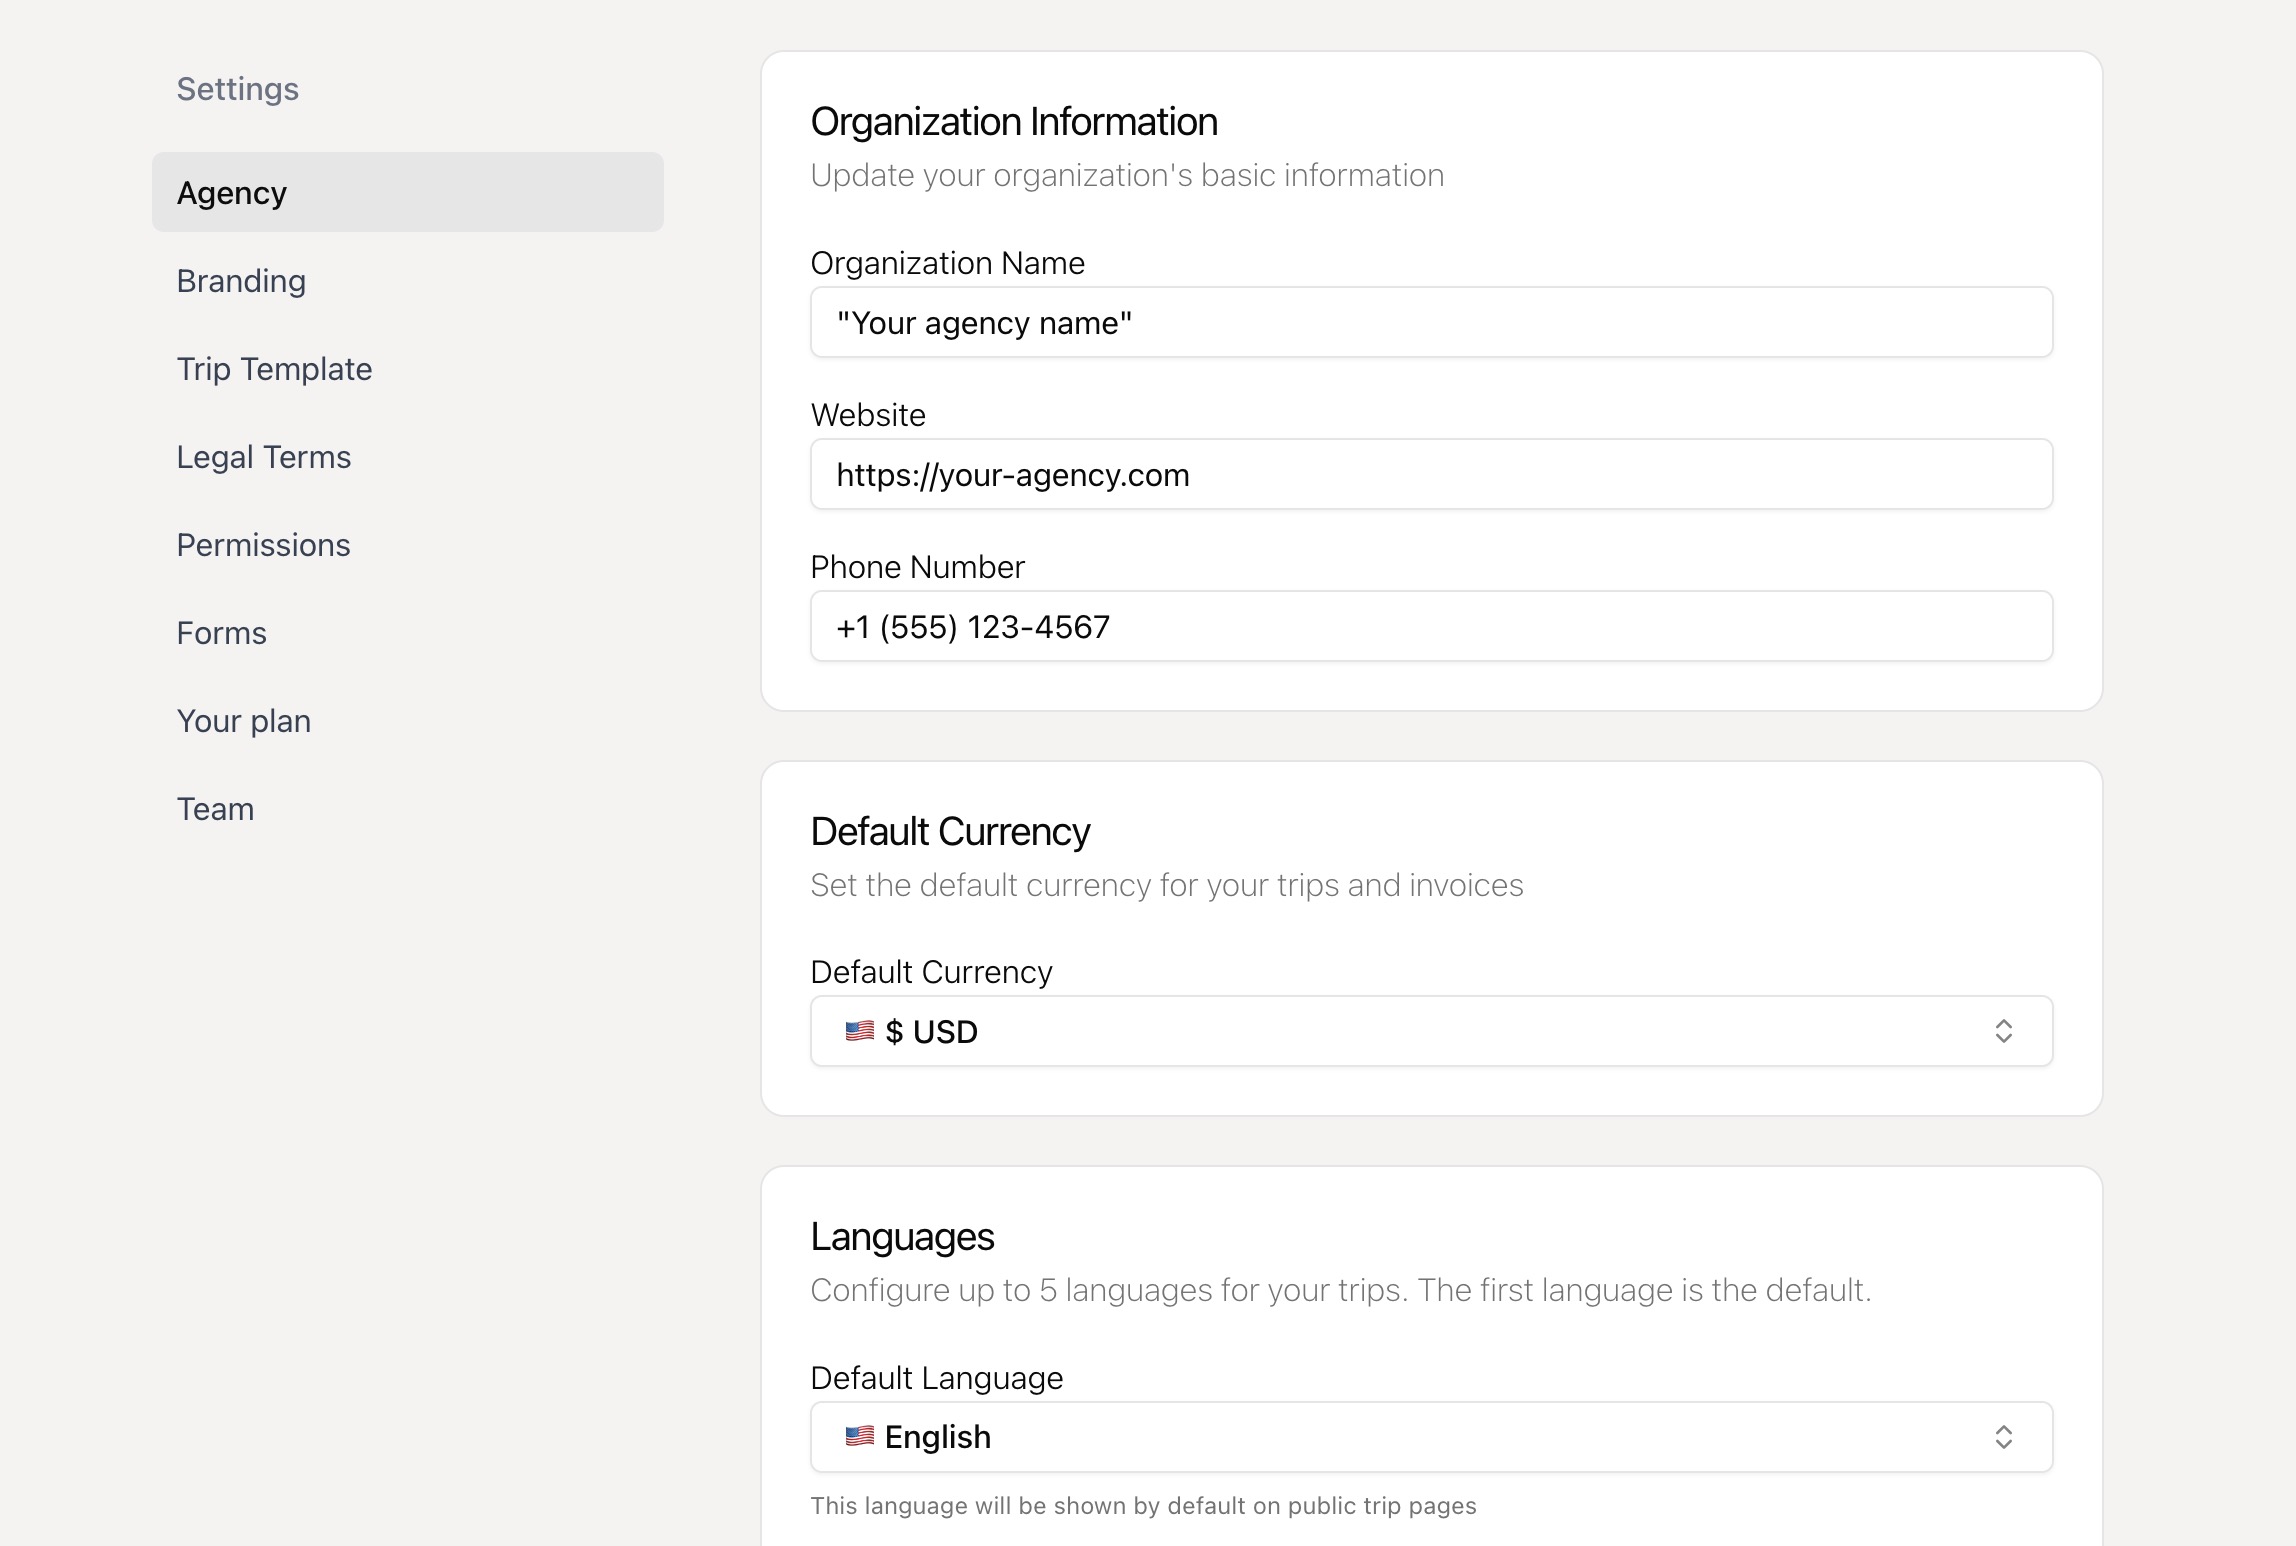
Step 1: Configure Your Agency Go to Settings → Agency and fill in:
Organization name Website URL Phone number Default currency (USD, EUR, etc.) Default language Click Save when done.
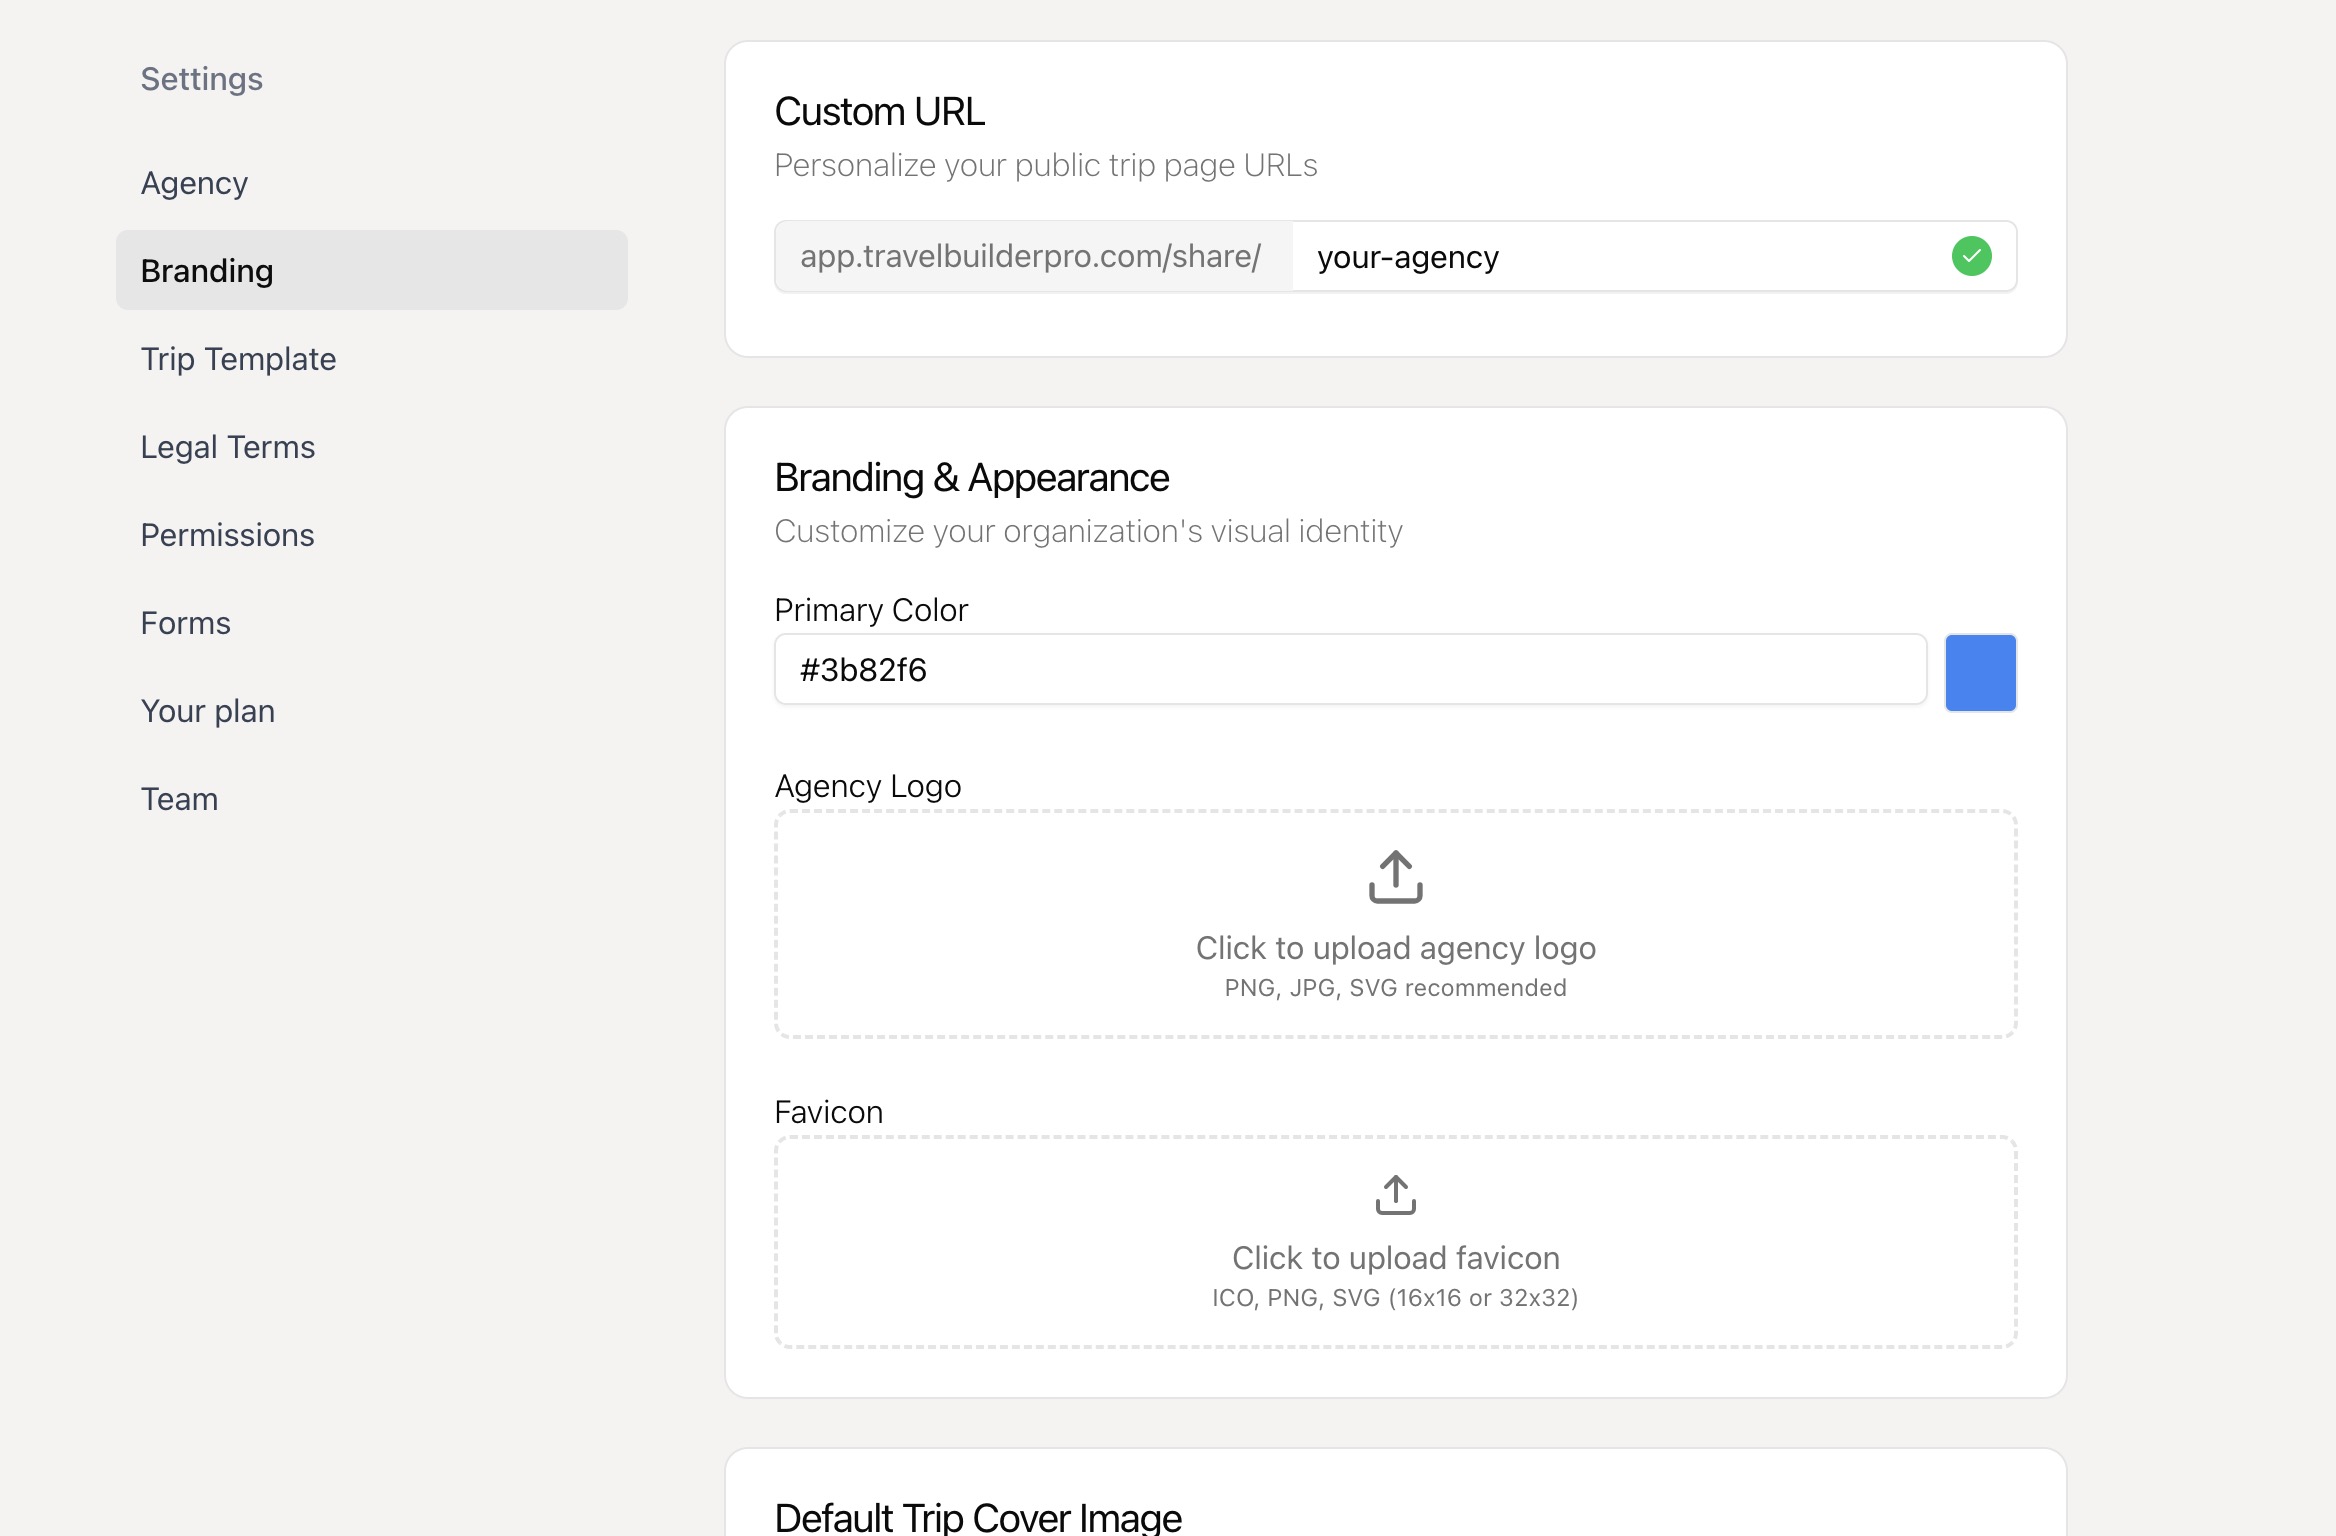
Step 2: Add Your Branding Go to Settings → Branding and customize:
Upload your agency logo Set your primary brand color Upload a favicon (optional) Create a custom URL for client pages
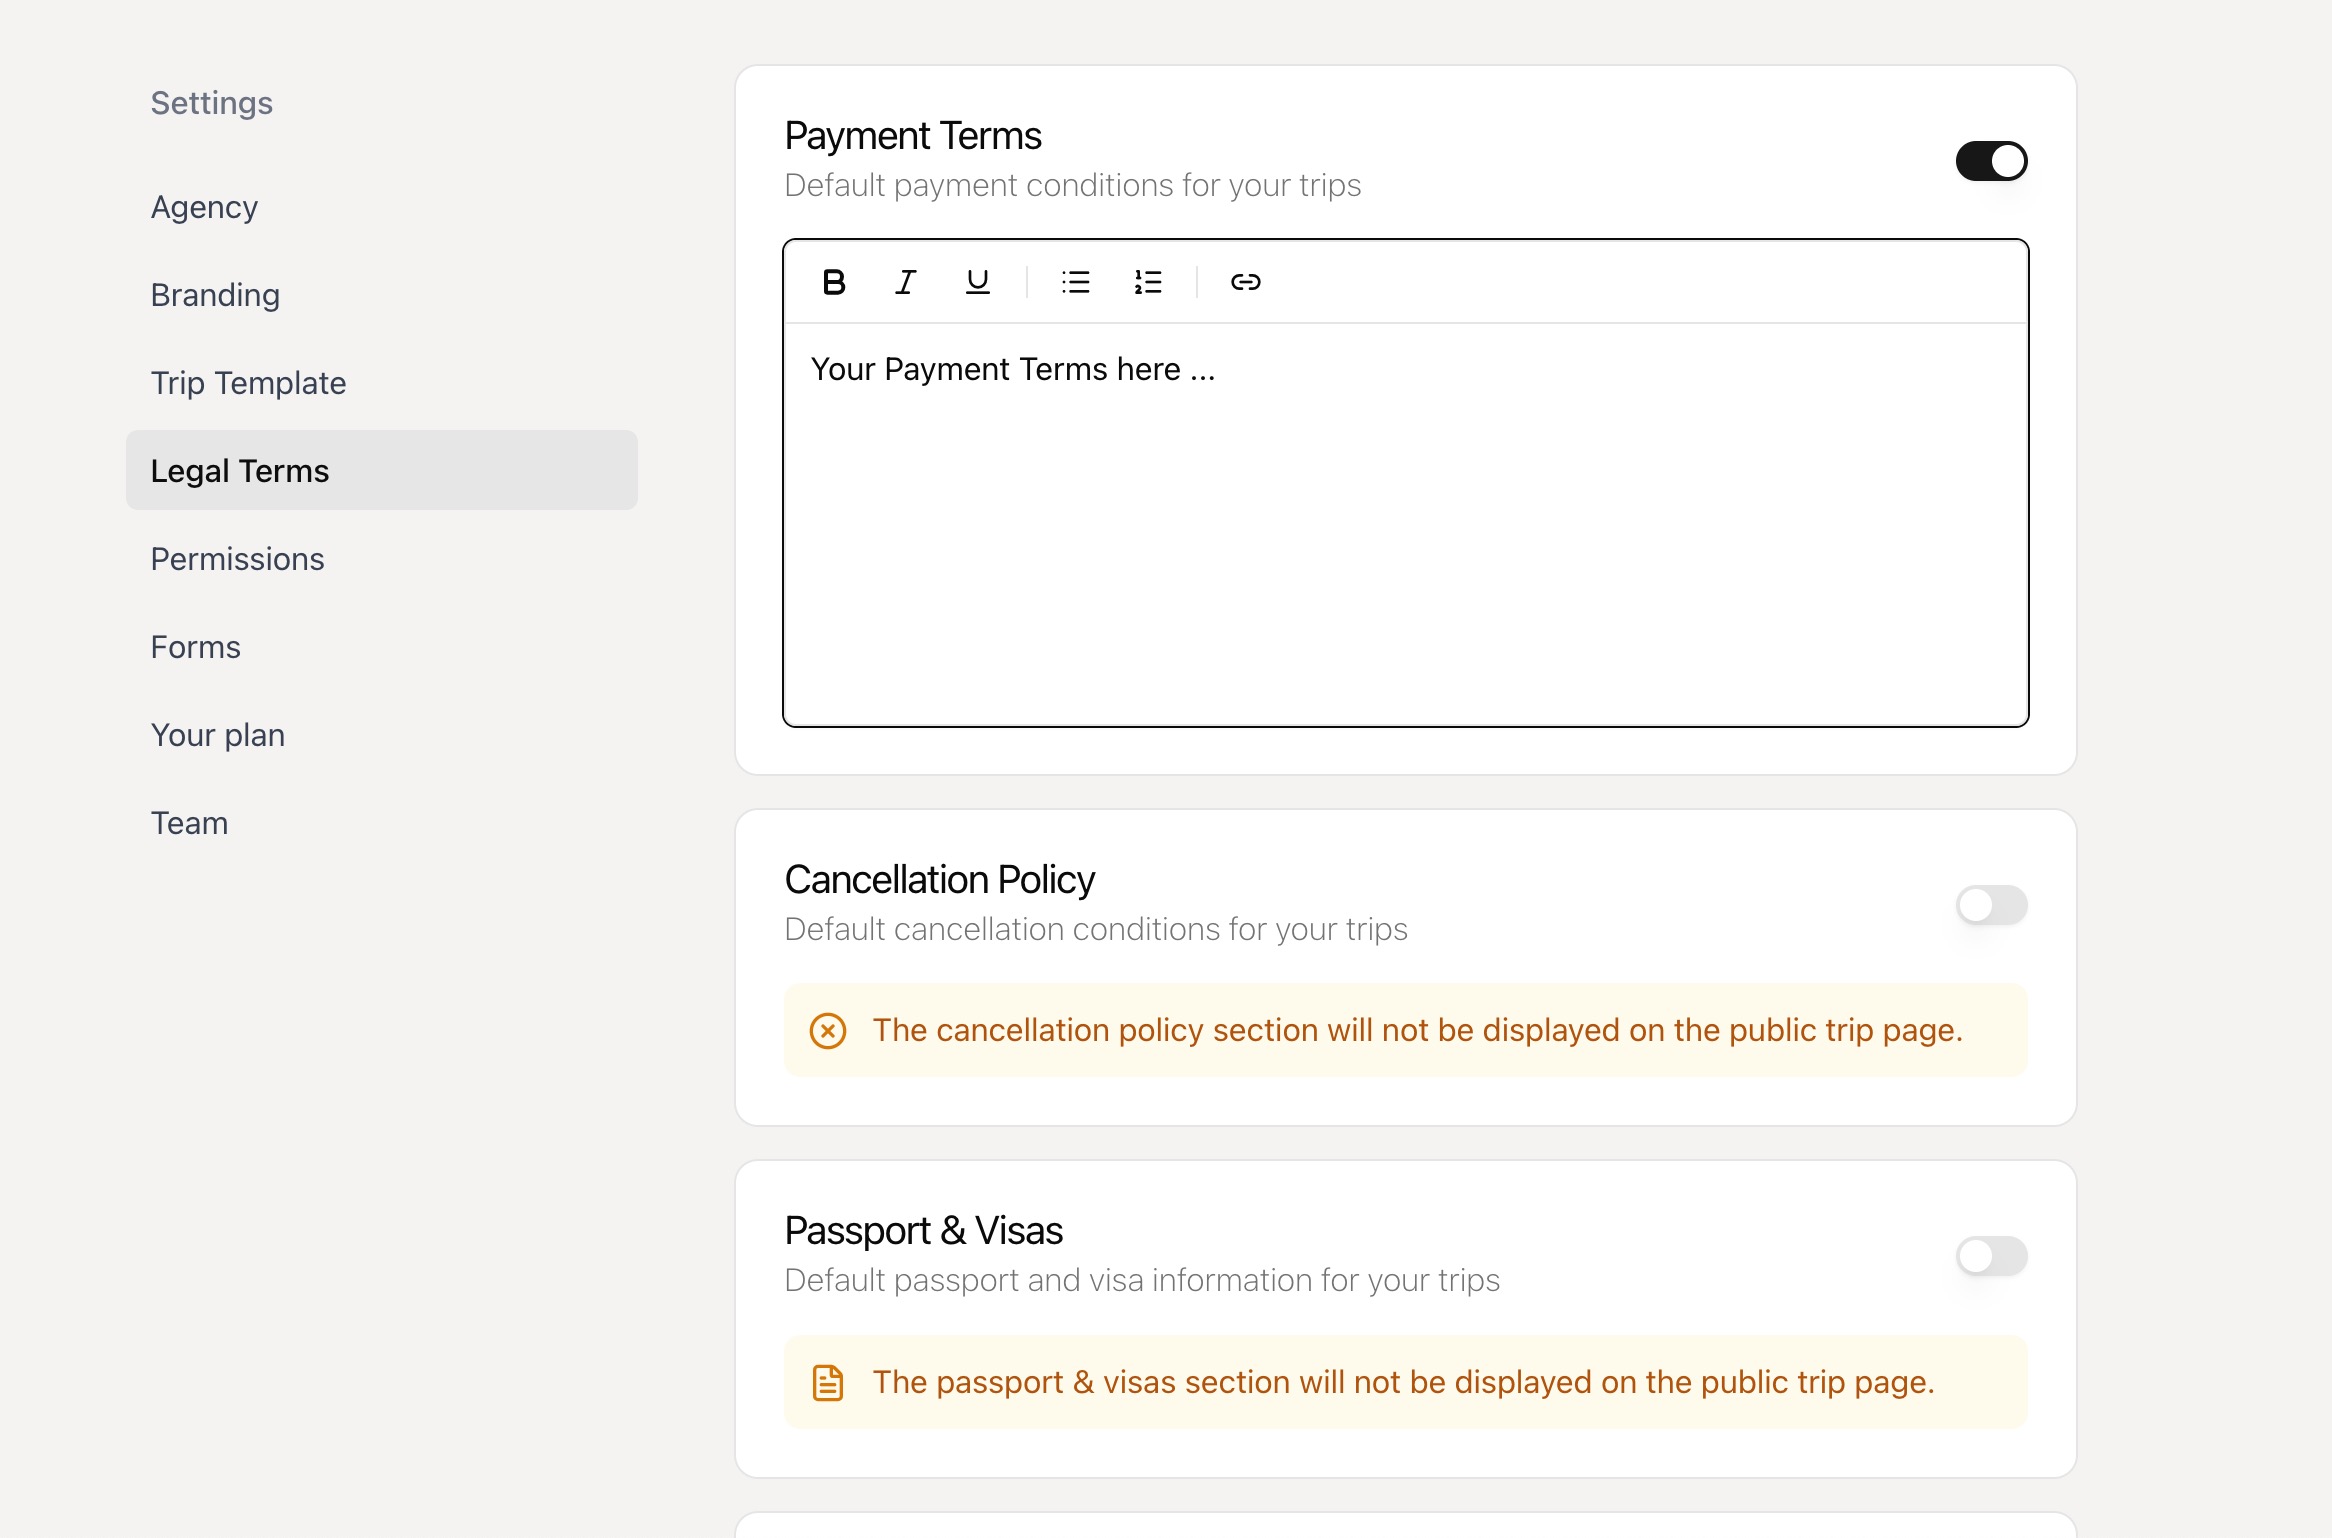
Step 3: Set Legal Defaults Go to Settings → Legal Terms and configure:
Payment terms Cancellation policy Passport & visa information Insurance requirements These appear automatically on your trip proposals.
Step 4: Choose a Trip Template Go to Settings → Trip Template and:
Select your preferred design Preview how it looks with your branding [Screenshot: Template selection with preview]
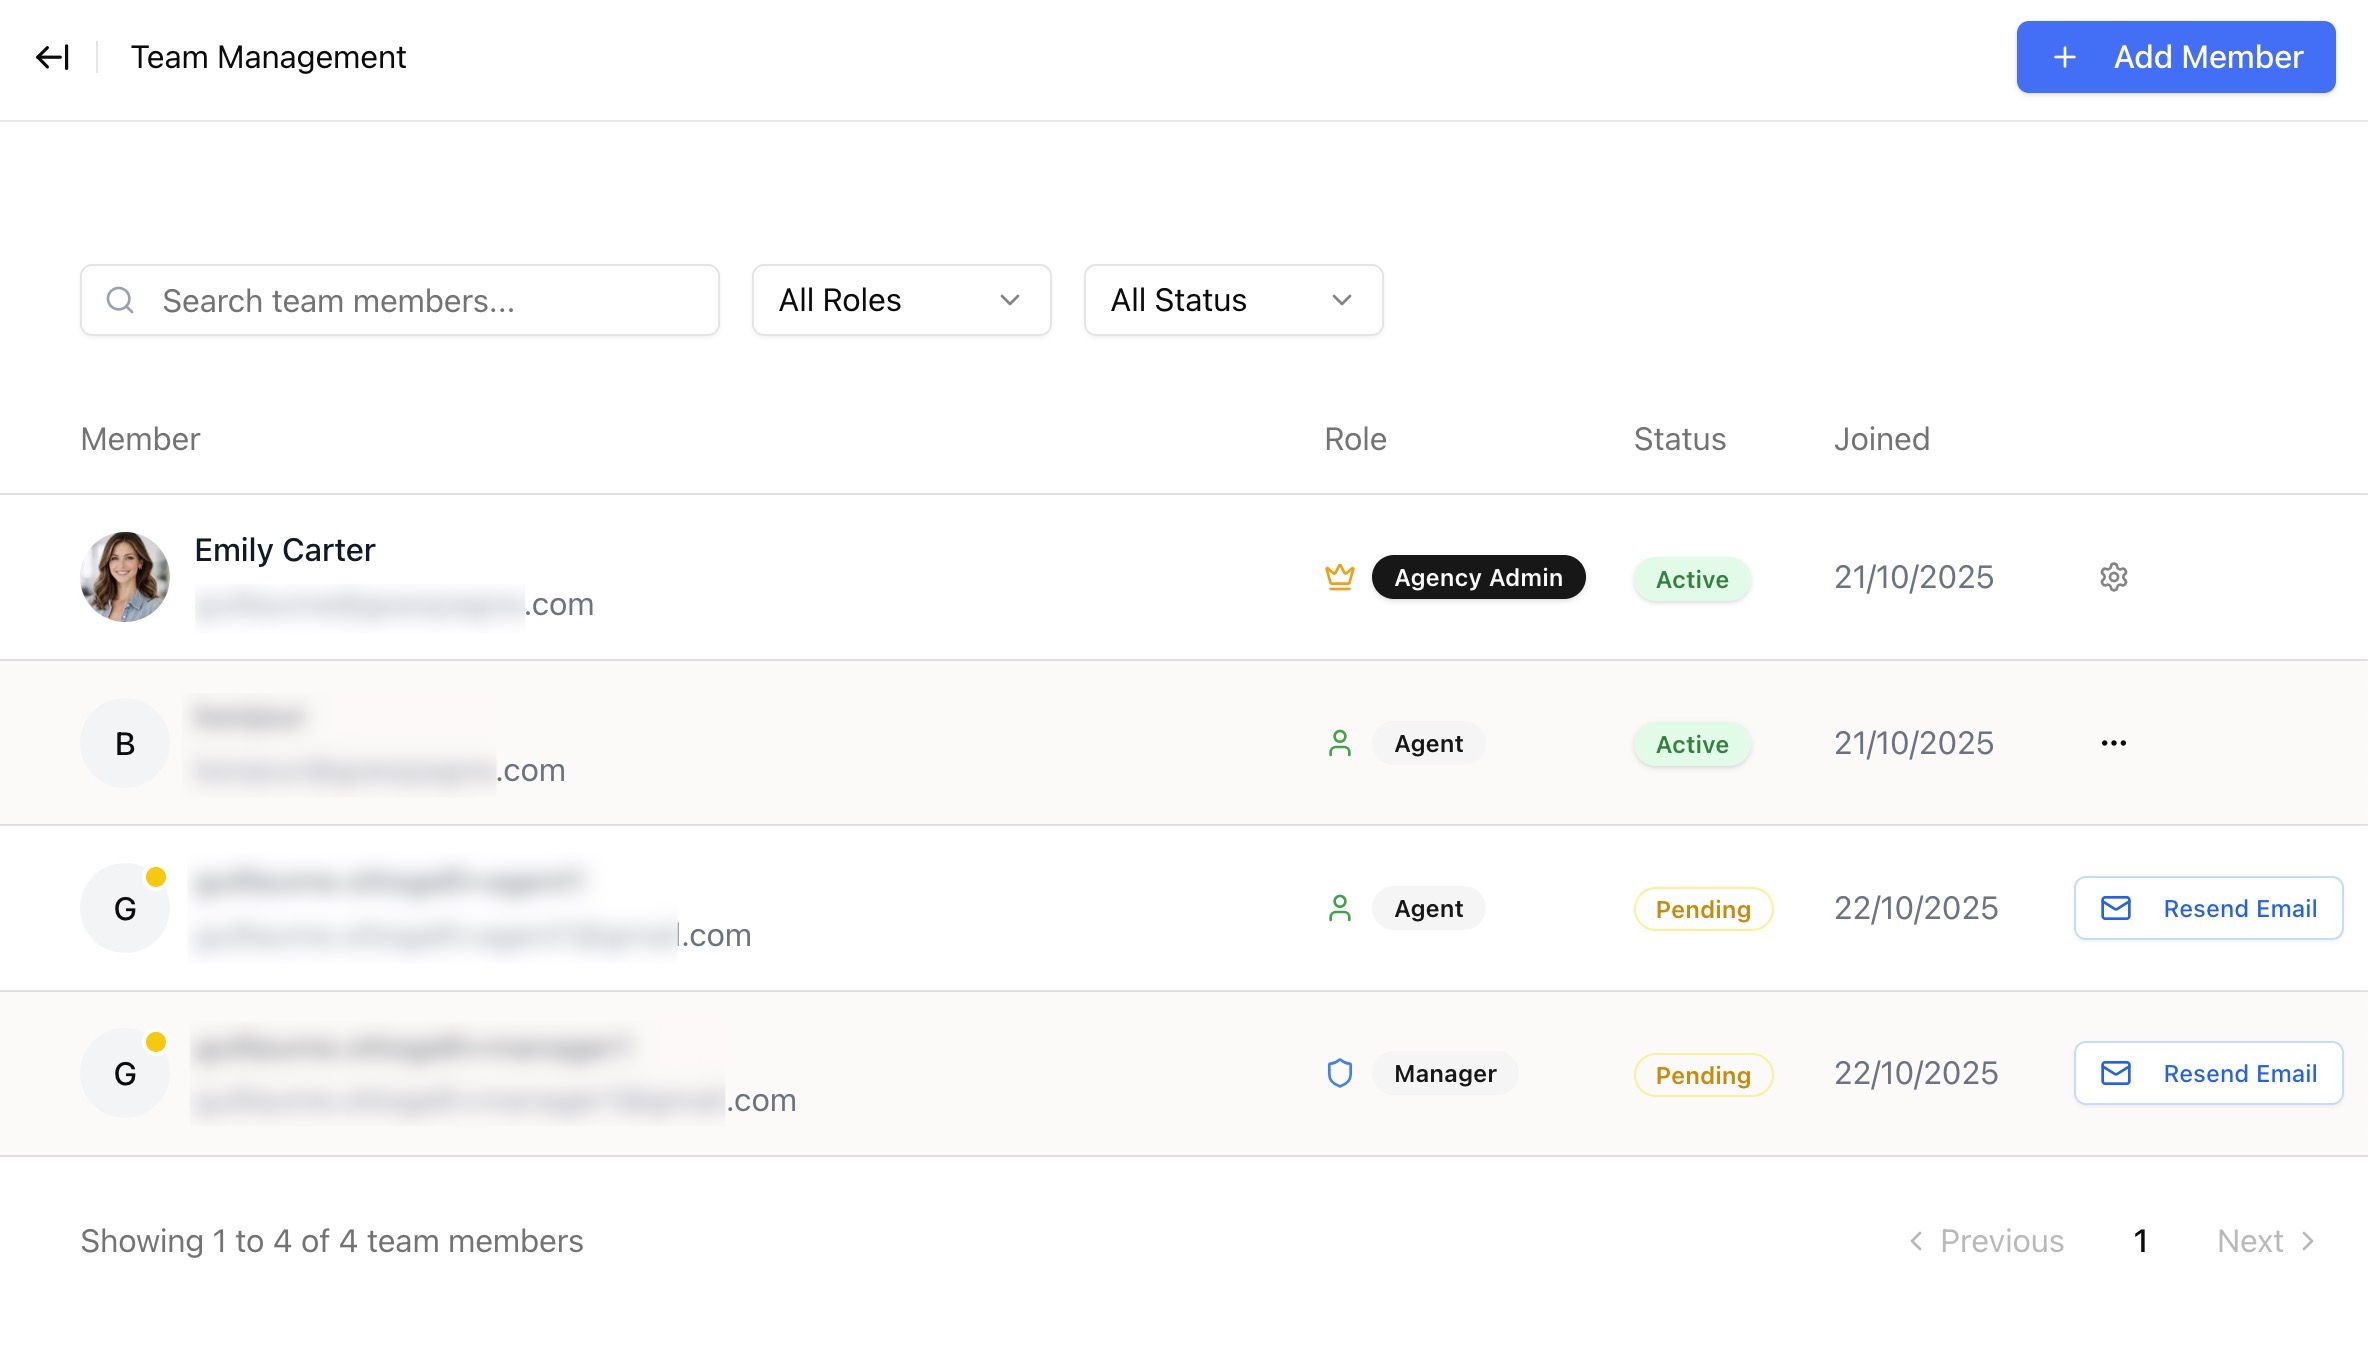
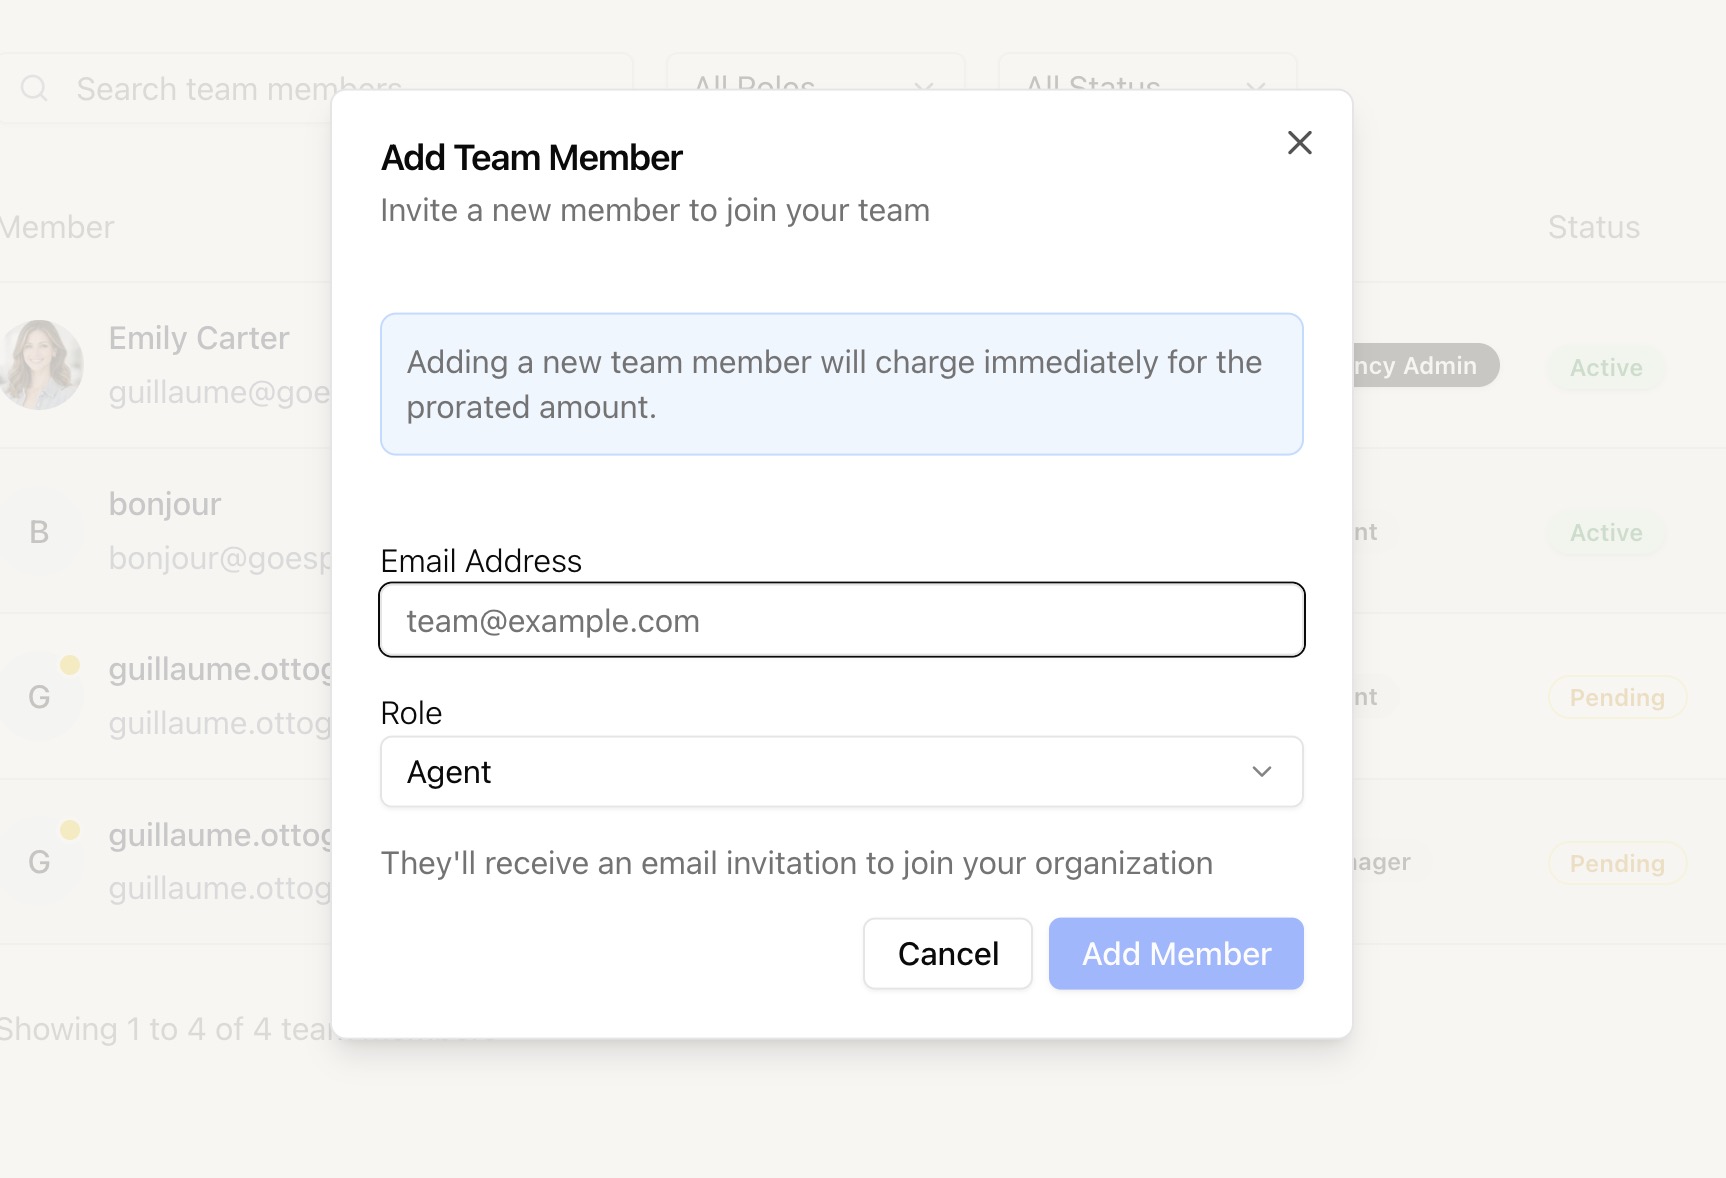
Step 5: Invite Your Team (Optional) Go to Settings → Team to:
Click Add Member Enter email addresses Assign roles (Manager or Agent) Send invitations
Your First Actions Whether you're an Agency Admin or a team member, here's how to start using TravelBuilderPro right away.
Create Your First Contact Go to Contacts in the sidebar Click the + New Contact button Fill in the basic information:First name and last name Email address Phone number (optional) Select Lead as the type Click Create Contact [Screenshot: New contact form]
Congratulations! You've created your first lead. Their profile is now ready for notes, tasks, and eventually a trip.
Create Your First Trip Go to Trips in the sidebar Click the + New Trip button Enter the trip name (e.g., Italy Adventure 2025 ) Select the client Set travel dates Click Create Trip [Screenshot: New trip creation steps]
You're now in the Trip Editor where you can build your itinerary.
Add Days to Your Trip In the Trip Editor:
Go to the Day by Day tab Click + Add Day Give the day a title (e.g., Arrival in Rome ) Add activities, accommodations, or transport [Screenshot: Day by Day editor with add day button]
Share with Your Client When your trip is ready:
Click the Share button in the Trip Editor Copy the public link Send it to your client via email Your client sees a beautiful, branded trip page — no login required.
[Screenshot: Share button and public trip preview]
Understanding the Workflow A typical client journey in TravelBuilderPro:
Lead captured Contact created Trip built Proposal sent Client converts Payment tracked Stage 1: Lead Capture New inquiries enter as Leads :
Manually created in Contacts Automatically via website forms (after setup) Stage 2: Build the Trip Add days with activities and accommodations Include pricing and payment schedules Customize design and legal terms Stage 3: Share the Proposal Share the public link Client reviews on any device No account required Stage 4: Convert to Client Convert the lead to a Client Update the trip status Track payments received Stage 5: Deliver and Follow Up Export PDF for offline use Add notes and follow-up tasks Track final payments [Screenshot: Workflow diagram or contact timeline]
Essential Features to Explore Library (Reusable Blocks) Save time with reusable content:
Activities — tours, experiences, excursions Accommodations — hotels, rentals, lodges Transport — flights, transfers, car rentals Full Days — complete day packages Create once, use in multiple trips.
→ Learn more: /docs/library
Tasks Stay organized with built-in task management:
Tasks linked to contacts Due dates and reminders Filters for today, upcoming, overdue Complete tasks from anywhere → Learn more: /docs/tasks
Analytics Understand your business performance:
Lead and client trends Revenue over time Lead sources Top clients → Learn more: /docs/analytics
Form Integrations Automate lead capture from your website:
Connect any web form Leads created automatically No manual data entry → Learn more: /docs/settings
